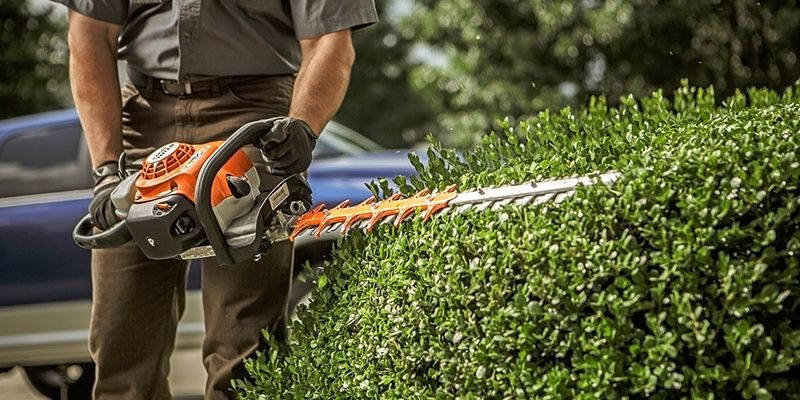
You're cutting your hedges around the house and you start to notice your STIHL hedge trimmer is not cutting like it used to. The limbs are being torn rather than cut. You can feel the trimmer grab as it doesn't quite cut through a limb. Sounds like it's time to sharpen your blades.
According to product manuals, you need to sharpen your blades regularly after about 50 hours of use. That's a lot of use for the typically homeowner. You may not want to keep up with the hours, so just be conscious of how your trimmer is cutting.
Safety First
Above all, be safe when sharpening your blades. We recommended wearing safety glasses and gloves.
How to Sharpen your Hedge Trimmer Blades
Clean your blades. You want to make sure your blades are clean from debris and dirt. If dirt and grim remain, it can cause harm to your file or sharpening stone. You may use a bristled brush and a cleaning solution to clean them.
Align your upper and lower blades in the same position. This will make it easier to get your file between each notch.
Use a flat file to sharpen your blade. Always align your file with the angle of the blade to maintain a proper cut. Always file in the direction of the cutting edge, never back and forth. Ensure that the file is not in contact with the blade when pulling it back up. Don't take off too much material off the blade. The wear threshold is 5mm. Taking more than 5mm off the blade weakens it and reduces cut quality.
After sharpening, there are usually burrs at the bottom of the blade. These can dull your blades faster and need to be removed. The preferred method for removing them is to grab a sharpening stone and carefully grind the burrs away on the flat slide of the blade. You may need to adjust your blade alignment to reach the burrs. If you don't have a sharpening stone, you can pick up some 300 grit sandpaper from your local hardware store.
After the burrs are clean, give it a wipe over with a soft cloth and apply some 3-in-1 oil to prevent rusting.